Problem
How do I set up Snagit to automatically save my captures to a specific format?
Solution
Snagit presets make it easy to customize your various workflows including saving a simple image file. To create a custom Snagit preset to capture and automatically save an image to a specific format and destination, follow the steps below:
Tip: Save Image Immediately After Capture
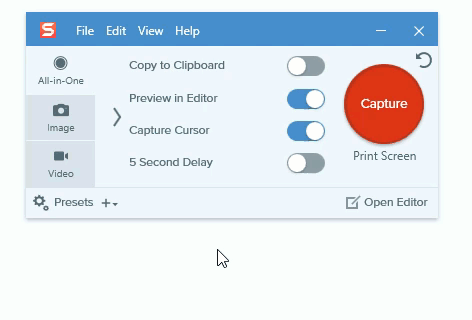
To skip the preview after capture and immediately saving the image after it has been captured, deselect Preview in Editor. These changes will automatically save in your profile.
- Open Snagit capture.
- Select + > New Preset.
- Click Image.

- Select File under the Share dropdown.

Optional: Select the Gear icon within the Share dropdown. Here you can customize how the file will be saved by the name of the file, format, and folder for it to be saved to.
- Click Save Preset.
Optional: Select + > New Preset from Current Settings > Add Hotkey and type your desired key combination to access this capture preset.

- Select the Capture Preset (with either the hotkey or preset) and click Capture.
Whenever this profile is used to capture, these settings will be applied. When the capture opens in the Editor, you can make any edits you wish and click Finish to save.

Tip: Capture direct to jpg or png
If you want to have Snagit capture directly to a png or jpg without going into the Snagit Library, you will want to create your custom preset as listed above, next you will need to open the Snagit Editor and go to Edit > Preferences > Library and deselect the "Automatically save new image captures in the Library" option.