Record Your Screen & Camera
Camtasia Editor captures your screen, camera, and audio.
Set Up Your Recording
- From the Camtasia Editor Home window, click New Recording, or click Record from an open project.

- In the Camtasia Recorder, click the Screen Recording, Camera, Microphone, and System Audio (optional) toggle buttons to turn them on.

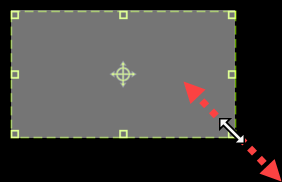
- Camtasia highlights the selected recording area on the screen. To edit the recording area:
- Drag the handles to adjust the selection.
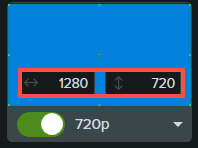
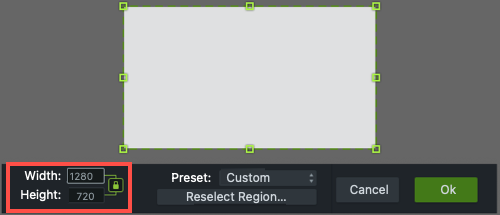
- To enter a specific size, type the dimensions in pixels into the Width and Height fields.
- To move the selected area on the screen, click the center handle (Windows) or within the selected area (Mac) and drag to the desired location.

If your computer is connected to multiple displays, you can drag the selected area from one screen to another.
- Drag the handles to adjust the selection.
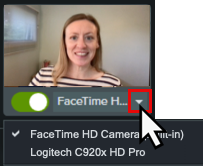
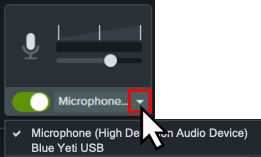
- Click the Camera and Microphone dropdowns to select specific devices.
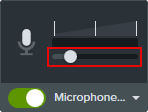
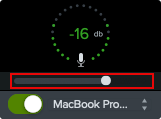
- Drag the microphone slider to increase or decrease the audio level.
- Turn system audio on or off. System audio captures the sound from your computer such as application alerts or audio playing from your computer speakers.
- Click the Camtasia Rev toggle to turn on Camtasia Rev.

- Click the Record button or press the F9 key (Windows) or Command+Shift+2 (Mac).
- When you are finished recording, complete one of the following:
- Click the Stop button
- Press the F10 key (Windows) or Command+Option+2 (Mac).
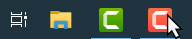
- On Windows, click the Camtasia Recorder icon in the taskbar and then click the Stop button.
- On Mac, click the Camtasia icon in the menu bar and select Stop Recording.
To learn more about Camtasia Recorder and additional recording options, see Introduction to Camtasia Recorder.